Qookie Games
Color Merge Platformer Game Template Documentation
How to open the Project
1- Create a new Unity project (preferably using the Universal 2D Core template).
Do not import this template into another game project to avoid the risk of corrupting your existing project.
2- Once the new project opens, click Assets -> Import Package -> Custom Package and select the downloaded asset. If you are using the Unity Asset Store and have already purchased the package, click Window -> Package Manager (select My Assets) and search for the name of the asset.
3- Make sure to import everything. This will overwrite the project and add new layers, tags, and other settings.
4- The game uses TextMeshPro. When you enter the scene, the Unity Editor may prompt you to import TextMeshPro. After importing, double-click the scene again to ensure it loads correctly.
5- [Depending on the Unity Version] You may need to add all levels and the UIScene to the Scenes in Build for them to load properly in the build and the editor. Go to File -> Build Settings, drag the UIScene to be first, and then add all the levels.
Scenes
The main scene can be found in the Scenes folder and is named UIScene. To test the game, make sure to play from this scene.
The levels can be found in the Scenes -> Levels folder.
You can easily modify the levels by adjusting the walls, adding elements, or changing the placement of the player and finish point, etc.
To test a level, you must play the game from the UIScene and select the level to avoid errors. This is because some essential elements are loaded in this scene for efficiency.
To add more levels, create new levels using the naming convention level + number (e.g., Level1, Level2, etc.) to maintain chronological order. Then, update the number of levels in UIScene -> Canvas (UIManager script) to reflect the total number of levels you want to include.
Create Levels
Each level requires the inclusion of the Main Camera, Player, and Finish prefabs. Additionally, you can customize the level by adding Walls, Obstacles, ColoredSquares, Enemies, and Paths, all of which are available in the Prefabs folder.
When placing ColoredSquares, Obstacles, Enemies, or Paths in the scene, you must select their color type in the script. Their assigned colors will be displayed in Play Mode.
- ColoredSquare objects use a script named ObjectsMerging.
- Obstacles and Enemies use a script named Obstacle.
- Paths use a script named PathDoor.
Game Rules
You move using AWSD or Arrow Keys
The player must touch the finish GameObject to win the level.
Click and drag ColoredSquare objects to move them. Use these objects to open doors that match their color.
You can mix ColoredSquare objects to create new colors.
After Level 3, you can absorb ColoredSquare objects to take their colors. To drop a color, press Space. For example, if you absorb a green ColoredSquare, pressing Space will drop yellow first, and pressing it again will drop blue. This feature is useful for separating mixed colors.
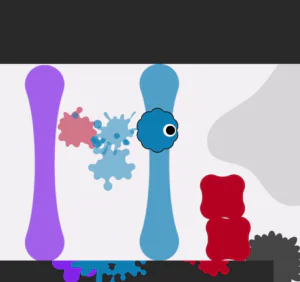
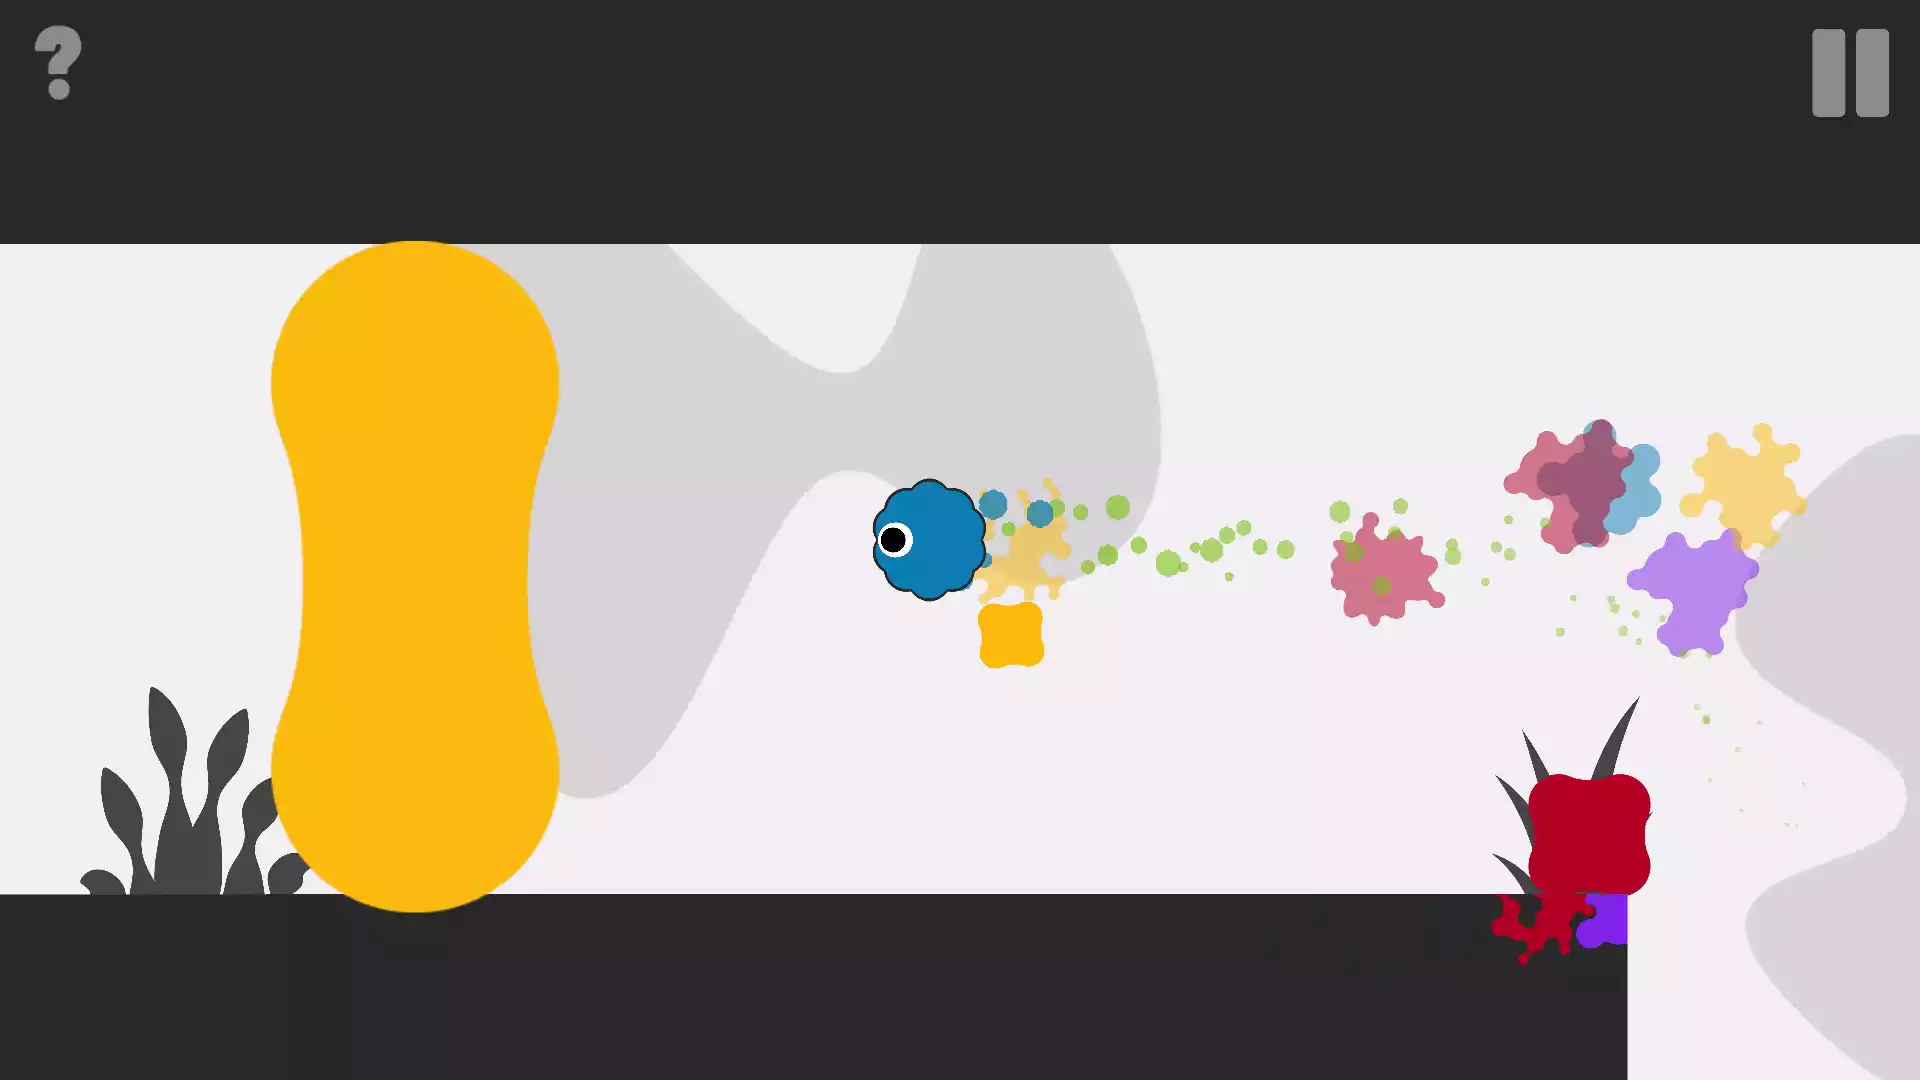
Obstacle can be destroyed by colliding them with a ColoredSquare of the same color.
Enemies can be destroyed by colliding with a ColoredSquare of the same color, however, the ColoredSquare will also be destroyed in the process.
Paths are obstacles that can only be passed if you have absorbed their matching color.
Audio/Music
This Game Template uses Simple Audio Manager UI
You can refer to this documentation for instructions on how to add audio and replace audio files: Simple Audio Manager UI Documentation.
This game template uses CC0 copyright-free music. We recommend checking out this Free Sci-Fi Game Soundtracks and using the track named 3. The Choir of the Stars, which was used in the game demo.
If you have any questions or feedback, please feel free to contact us.