How to import the Template From Unity Package Manager Window (If you got this template form the Unity Assets Store )
1- Create a new Unity project (preferably using the Universal 2D Core template).
Do not import this template into another game project to avoid the risk of corrupting your existing project.
2- Once the new project opens, click Assets -> Import Package -> Custom Package and select the downloaded asset. If you are using the Unity Asset Store and have already purchased the package, click Window -> Package Manager (select My Assets) and search for the name of the asset.
3- Make sure to import everything. This will overwrite the project and add new layers, tags, and other settings.
4- The game uses TextMeshPro. When you enter the scene, the Unity Editor may prompt you to import TextMeshPro. After importing, double-click the scene again to ensure it loads correctly.
5- [Depending on the Unity Version] You may need to add all levels and the UIScene to the Scenes in Build for them to load properly in the build and the editor. Go to File -> Build Settings, drag the UIScene to be first, and then add all the levels.
Scenes
The main scene can be found in the Scenes folder and is named UIScene. To test the game, make sure to play from this scene.
The levels can be found in the Scenes -> Levels folder.
You can easily modify the levels by adjusting the walls, adding elements, or changing the placement of the player and finish point, etc.
To test a level, you must play the game from the UIScene and select the level to avoid errors. This is because some essential elements are loaded in this scene for efficiency.
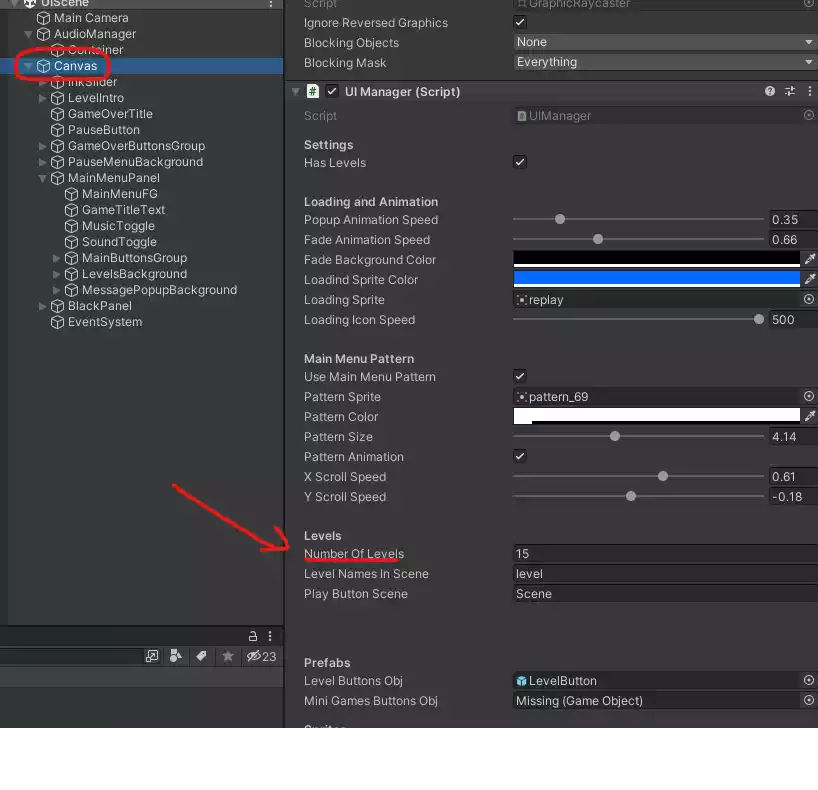
To add more levels, create new scene levels using the naming convention level + number (e.g., Level1, Level2, etc.) to maintain chronological order. Then, update the number of levels in UIScene -> Canvas (UIManager script) to reflect the total number of levels you want to include.
Create Levels
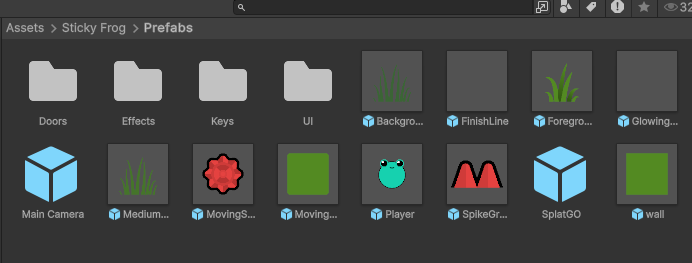
Each level requires the inclusion of the Main Camera, Player, and Finish prefabs. Additionally, you can customize the level by adding Walls, Doors, Keys, Enemies, and Plants, all of which are available in the Prefabs folder.
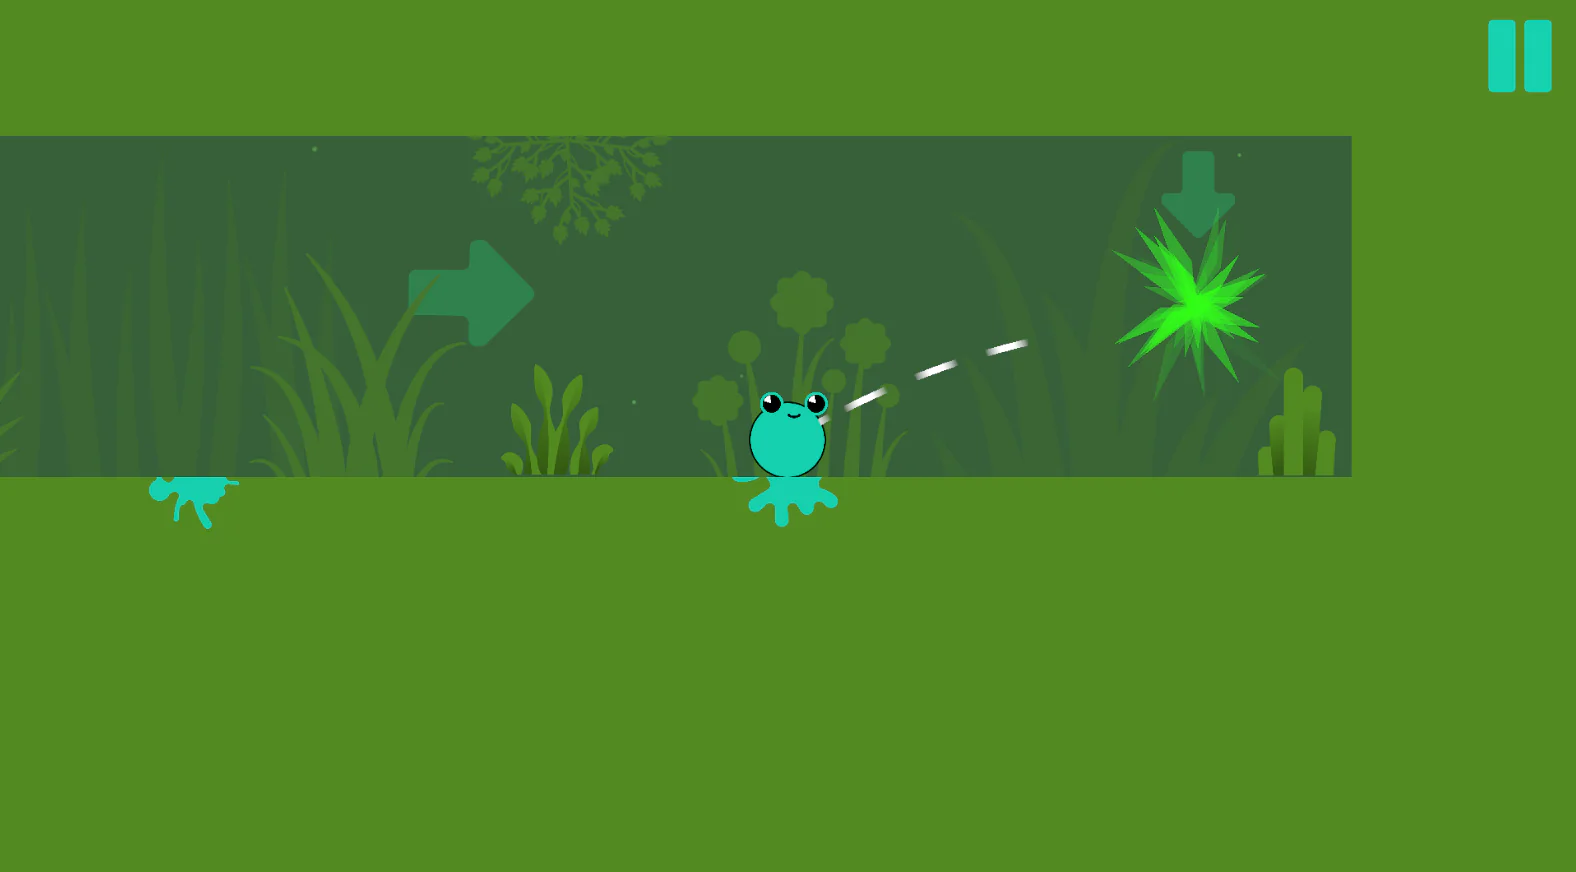
You can customize the plants by resizing them and choosing different sprites in the scene.
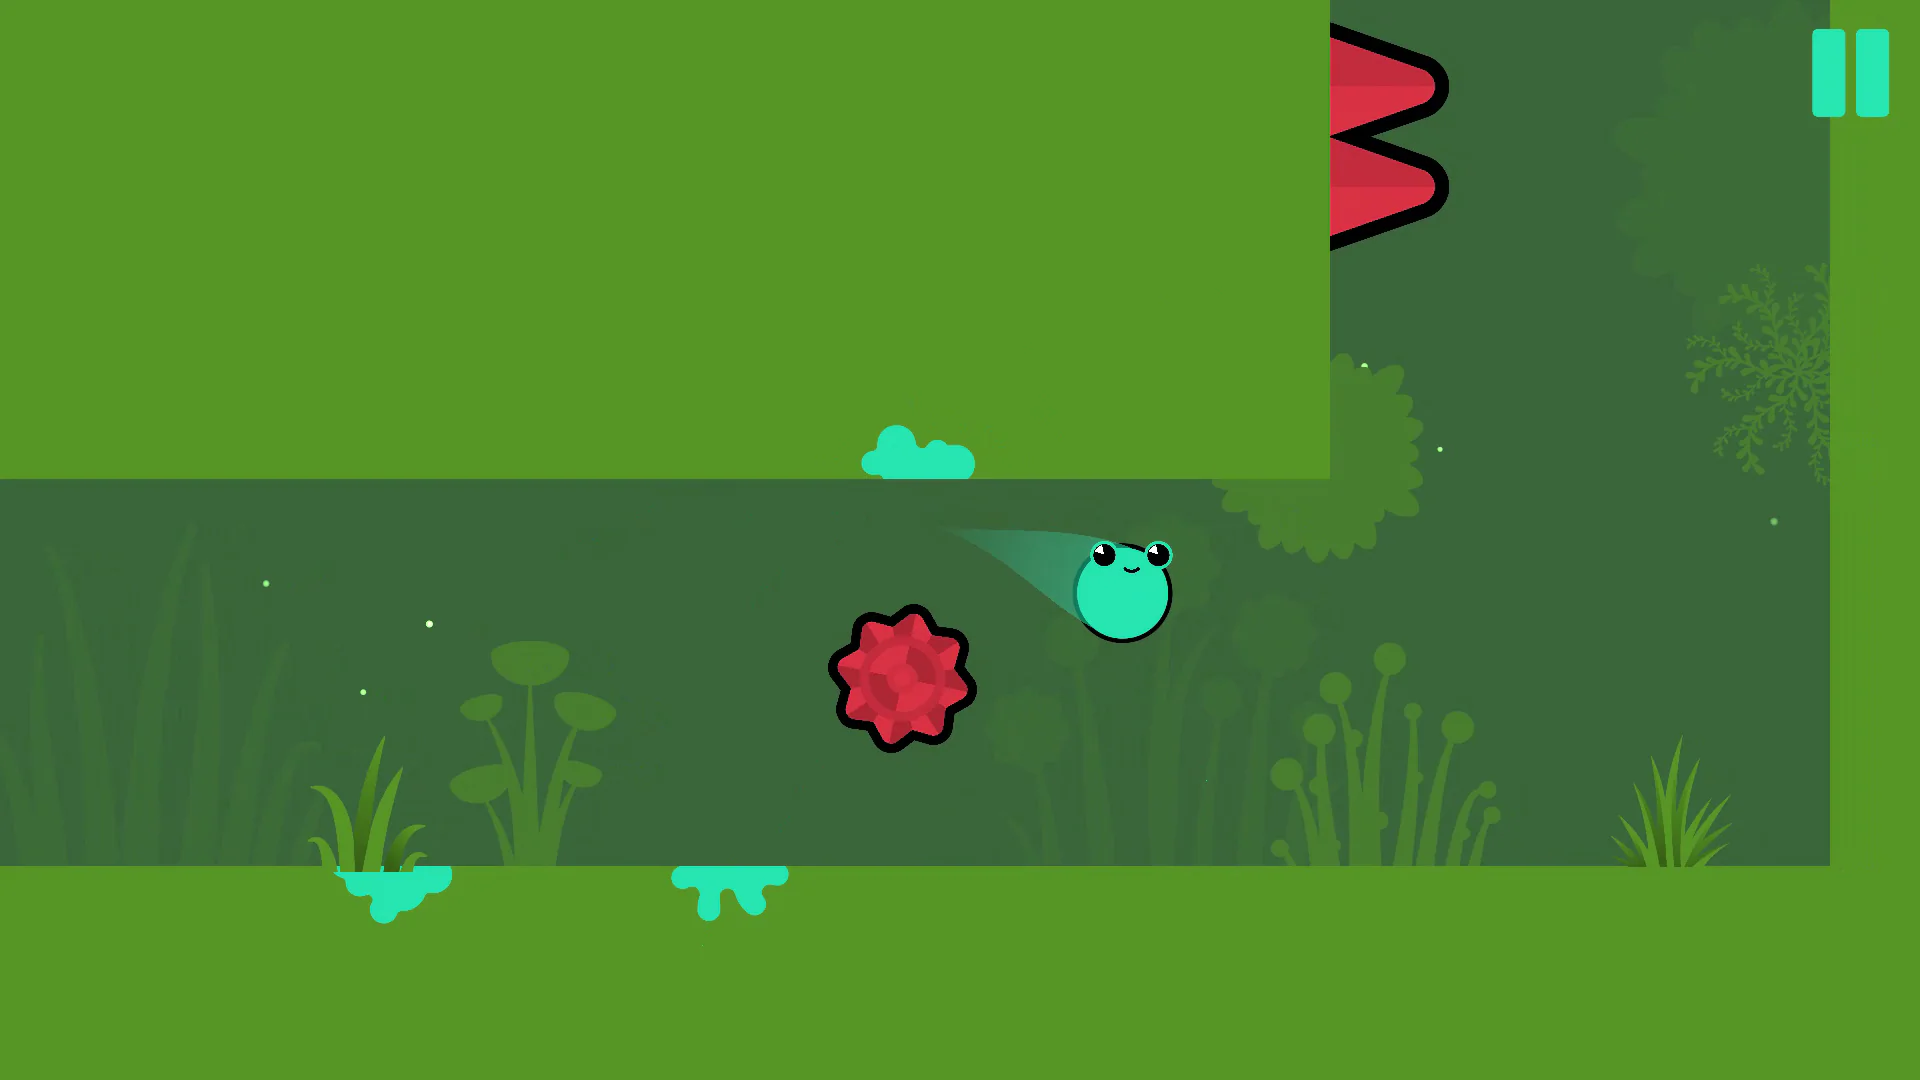
Game Rules
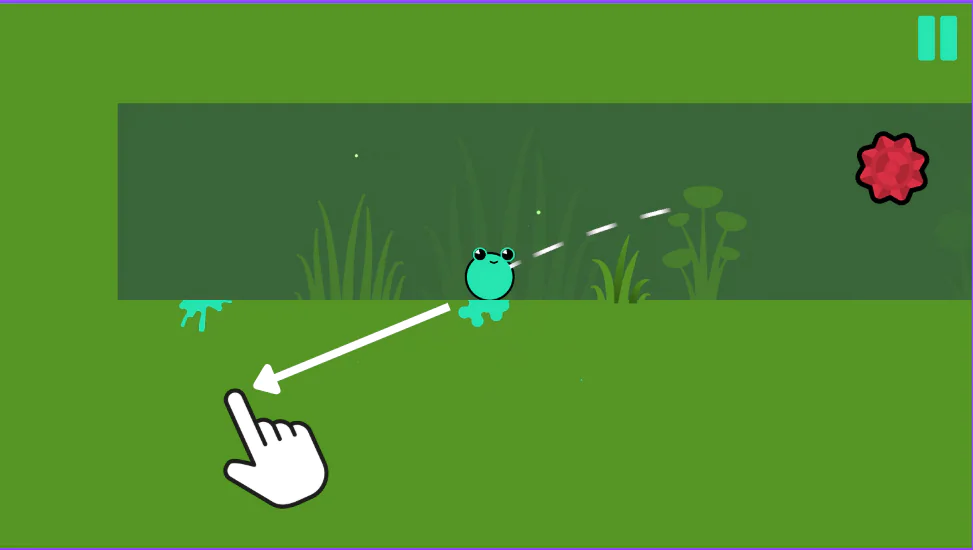
Swipe in any direction and release to jump. You’ll stick to walls when you land.
The player must touch the finish GameObject to win the level.
Avoid red spikes
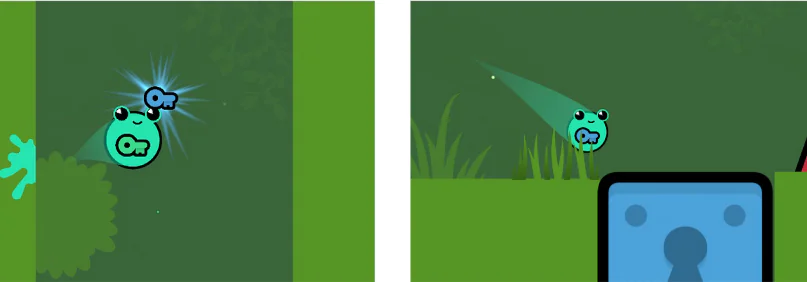
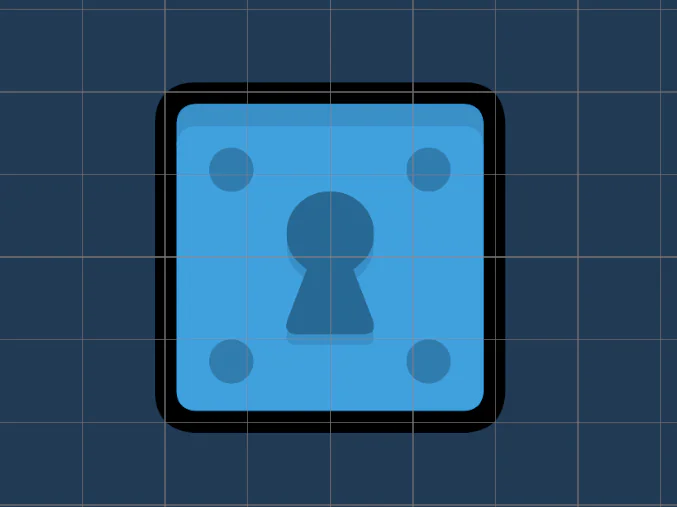
You need to use keys to unlock doors. Each colored key will unlock the door of the same color. There are 4 colors: Blue, Green, Yellow, and Orange.
You can only hold one key, when you collect another, the old key will be dropped.
You can use the key multiple times on a regular door (if they match the color, of course).
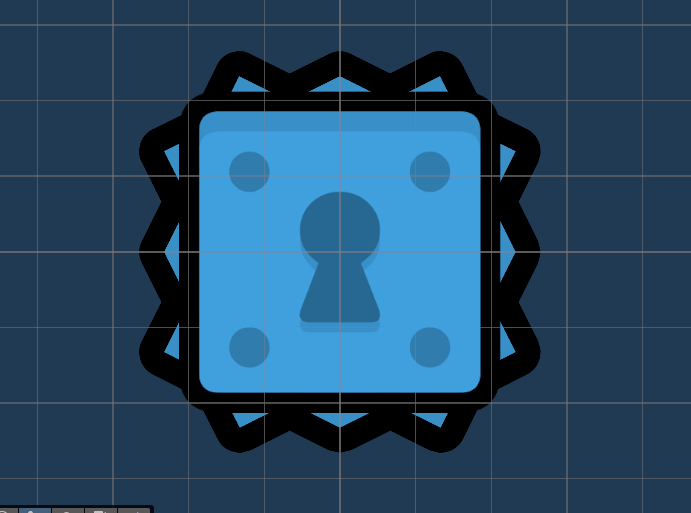
But you can only use it once on the DoorDestroyer (Spiked Door), the key will be absorbed by the door when you use it to open it.