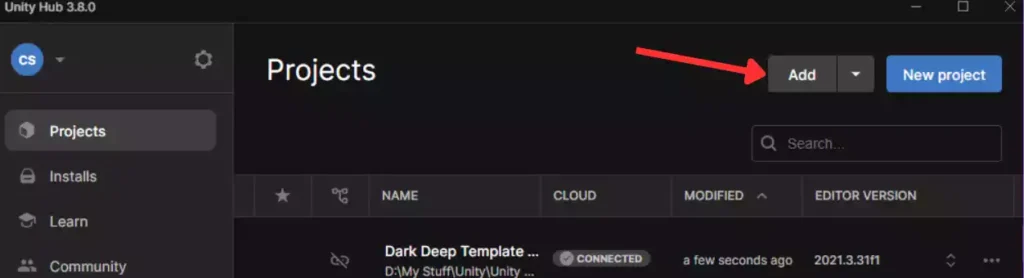
2- Click On Add and select the Dark Deep Template Folder after you extract it.
How to import the Template From Unity Package Manager Window (If you got this template form the Unity Assets Store )
1- Create a new Unity project (preferably using the Universal 2D Core template).
Do not import this template into another game project to avoid the risk of corrupting your existing project.
2- Once the new project opens, click Assets -> Import Package -> Custom Package and select the downloaded asset. If you are using the Unity Asset Store and have already purchased the package, click Window -> Package Manager (select My Assets) and search for the name of the asset.
3- Make sure to import everything. This will overwrite the project and add new layers, tags, and other settings.
4- The game uses TextMeshPro. When you enter the scene, the Unity Editor may prompt you to import TextMeshPro. After importing, double-click the scene again to ensure it loads correctly.
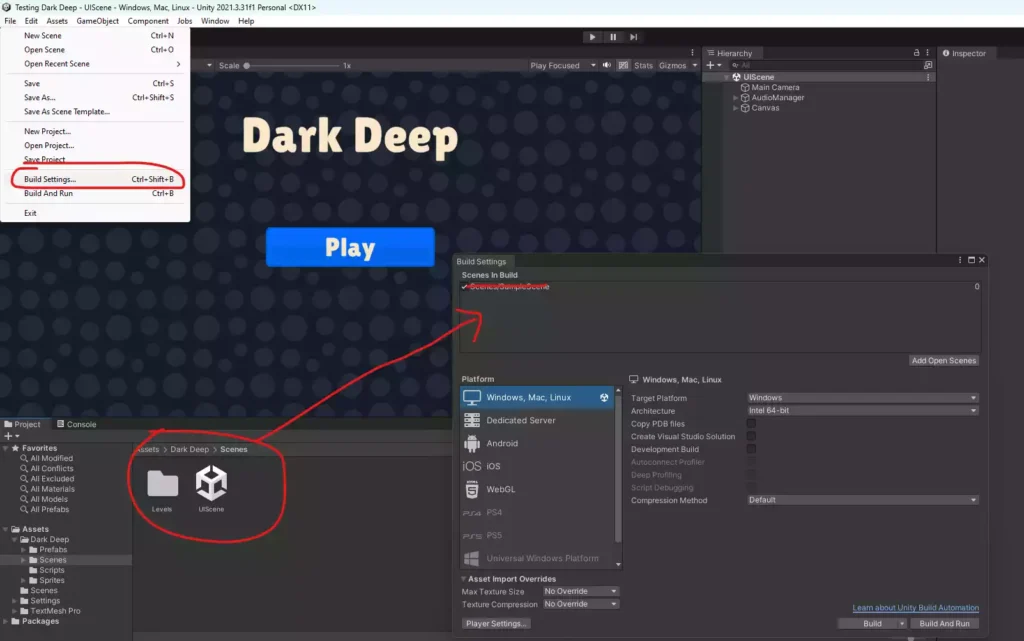
5- [Depending on the Unity Version] You may need to add all levels and the UIScene to the Scenes in Build for them to load properly in the build and the editor. Go to File -> Build Settings, drag the UIScene to be first, and then add all the levels.
Scenes
The main scene can be found in the Scenes folder and is named UIScene. To test the game, make sure to play from this scene.
The levels can be found in the Scenes -> Levels folder.
You can easily modify the levels by adjusting the walls, adding elements, or changing the placement of the player and finish point, etc.
To test a level, you must play the game from the UIScene and select the level to avoid errors. This is because some essential elements are loaded in this scene for efficiency.
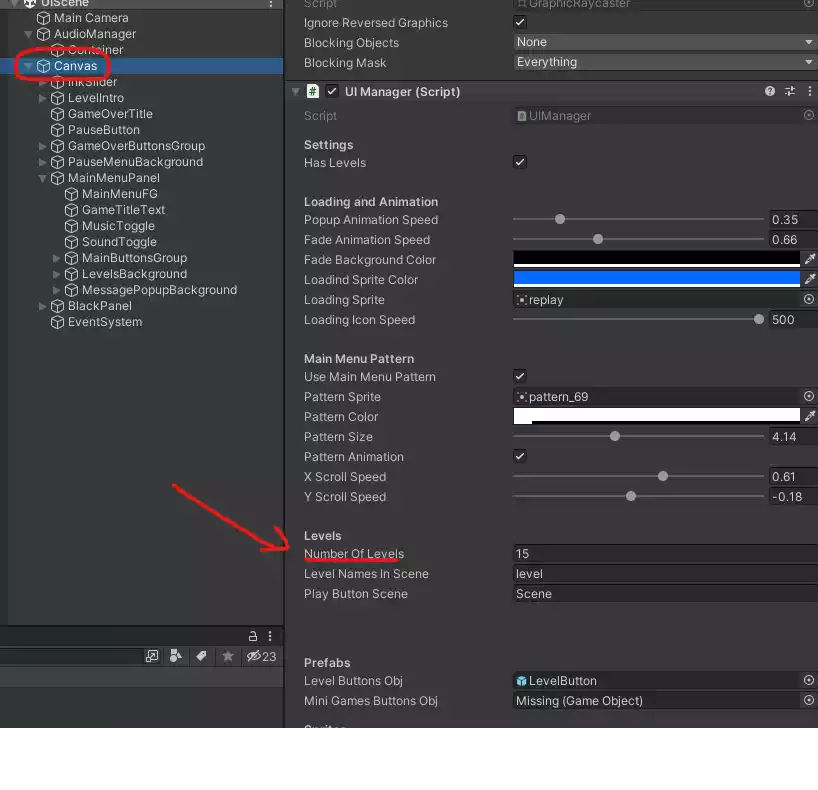
To add more levels, create new levels using the naming convention level + number (e.g., Level1, Level2, etc.) to maintain chronological order. Then, update the number of levels in UIScene -> Canvas (UIManager script) to reflect the total number of levels you want to include.
Each level needs a Player a finish and a Main Camera (all can be found in The Prefabs Folder)
Game Rules
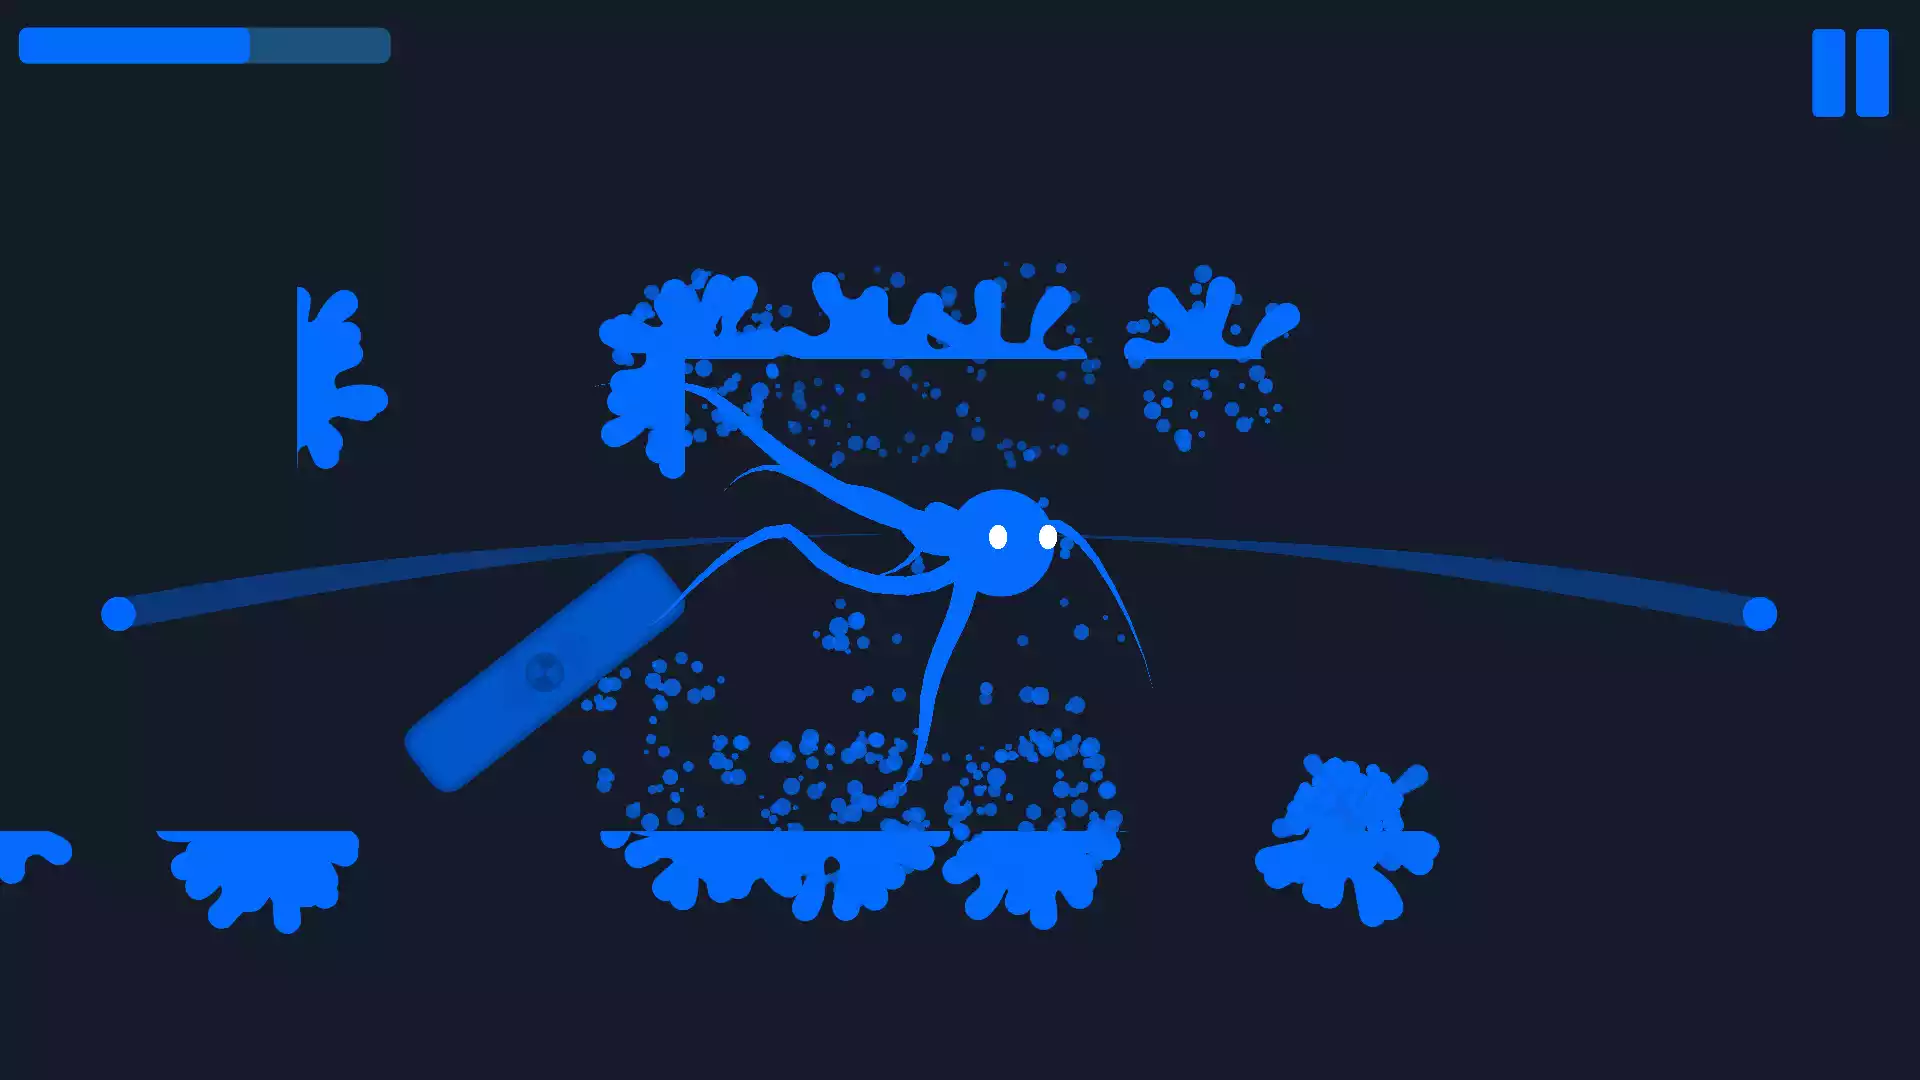
The player must touch the finish GameObject to win the level.
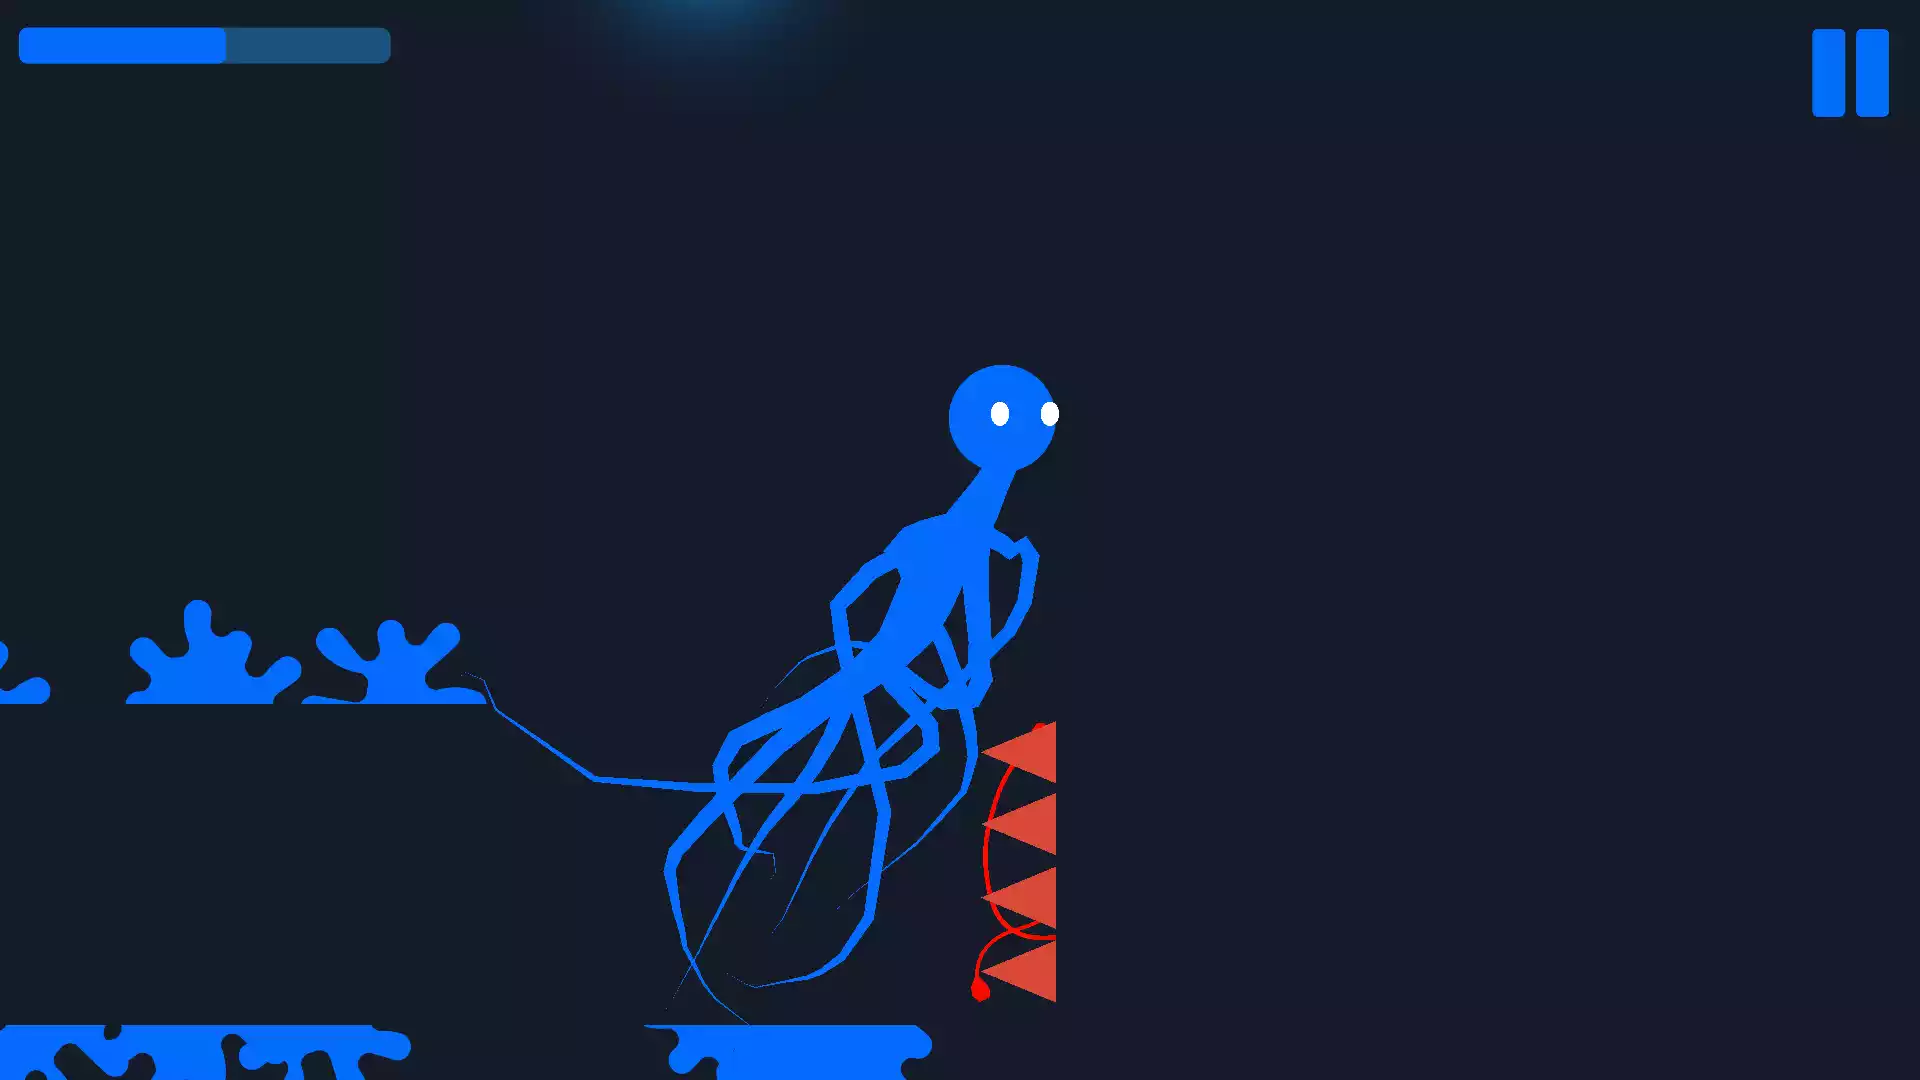
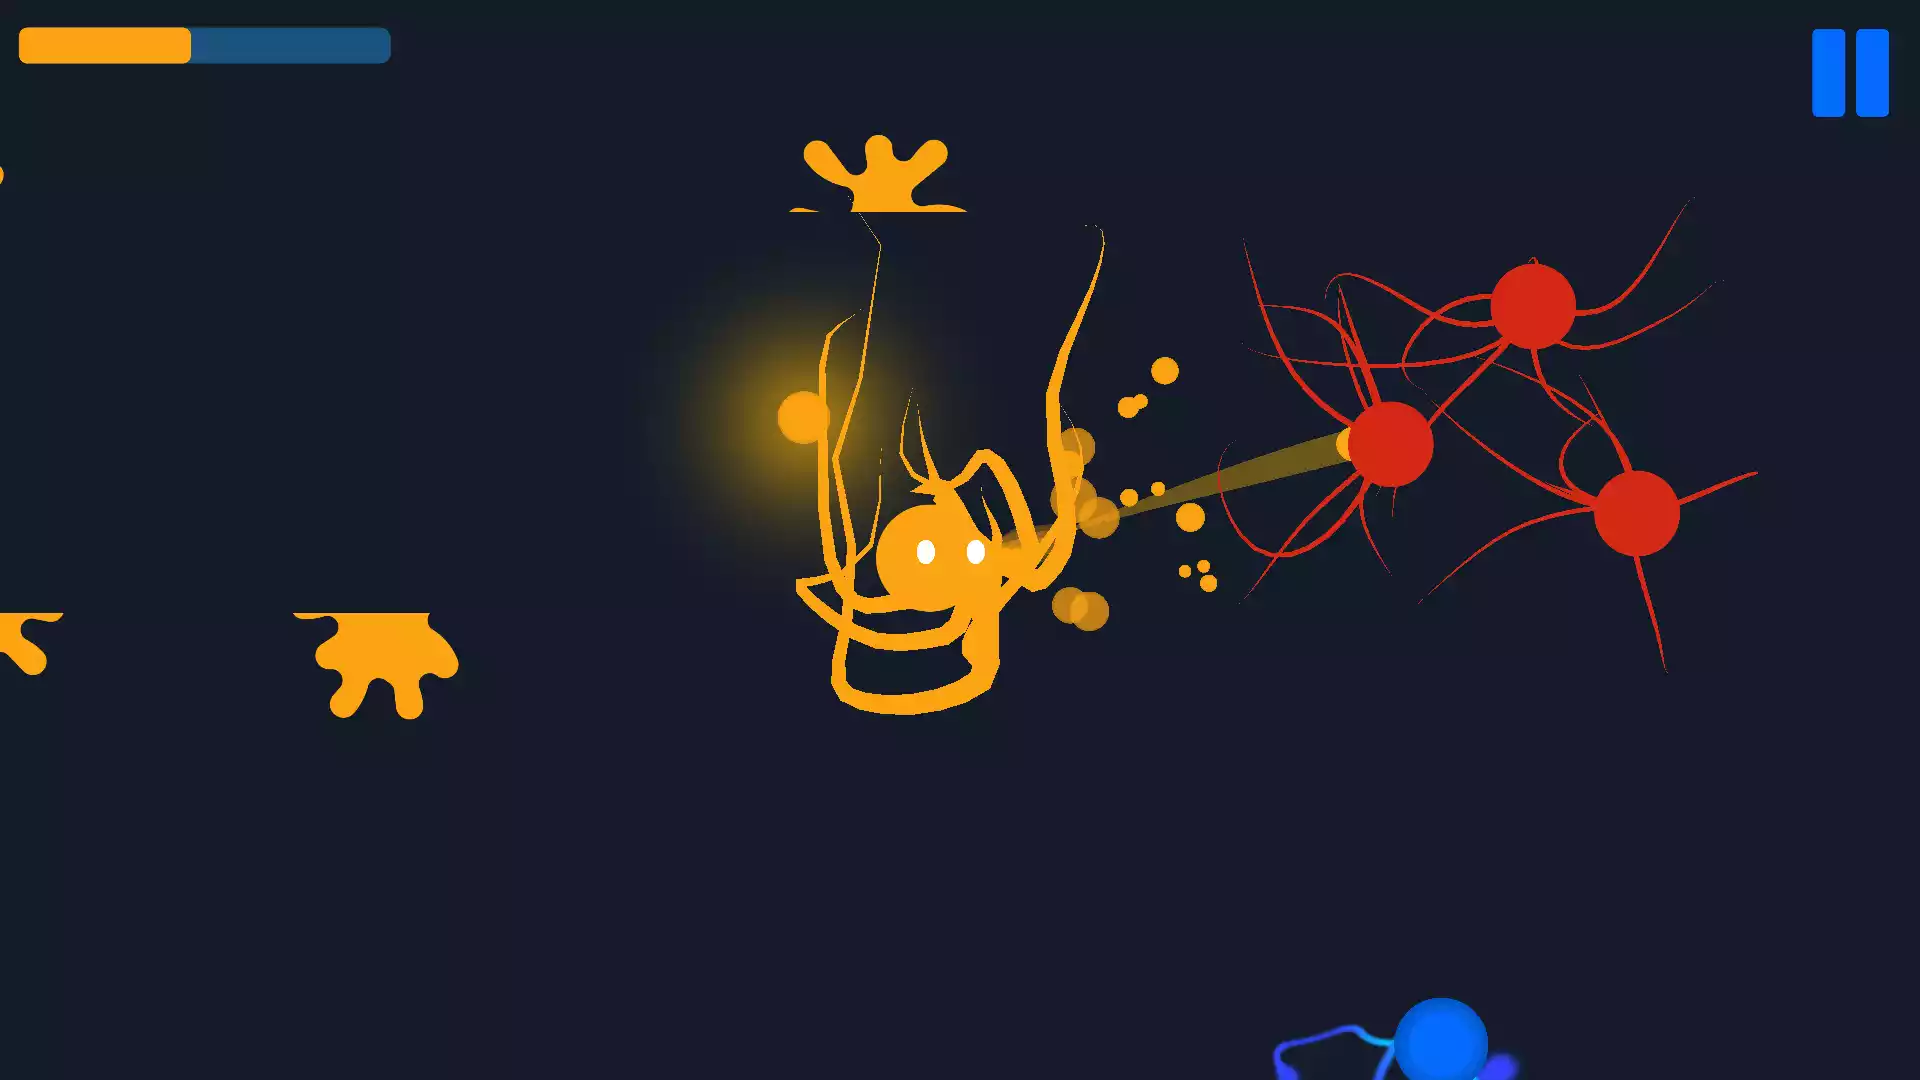
The player moves by shooting ink, which is also used to detect the level boundaries. Each time you shoot, you lose 1 ink point (you start with 30 ink points).
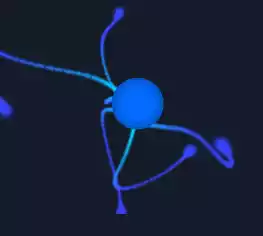
This GameObject, called Inkboom, will shoot 10 ink balls in all directions when collected. It’s useful for discovering the level, but it will not refill your ink supply.
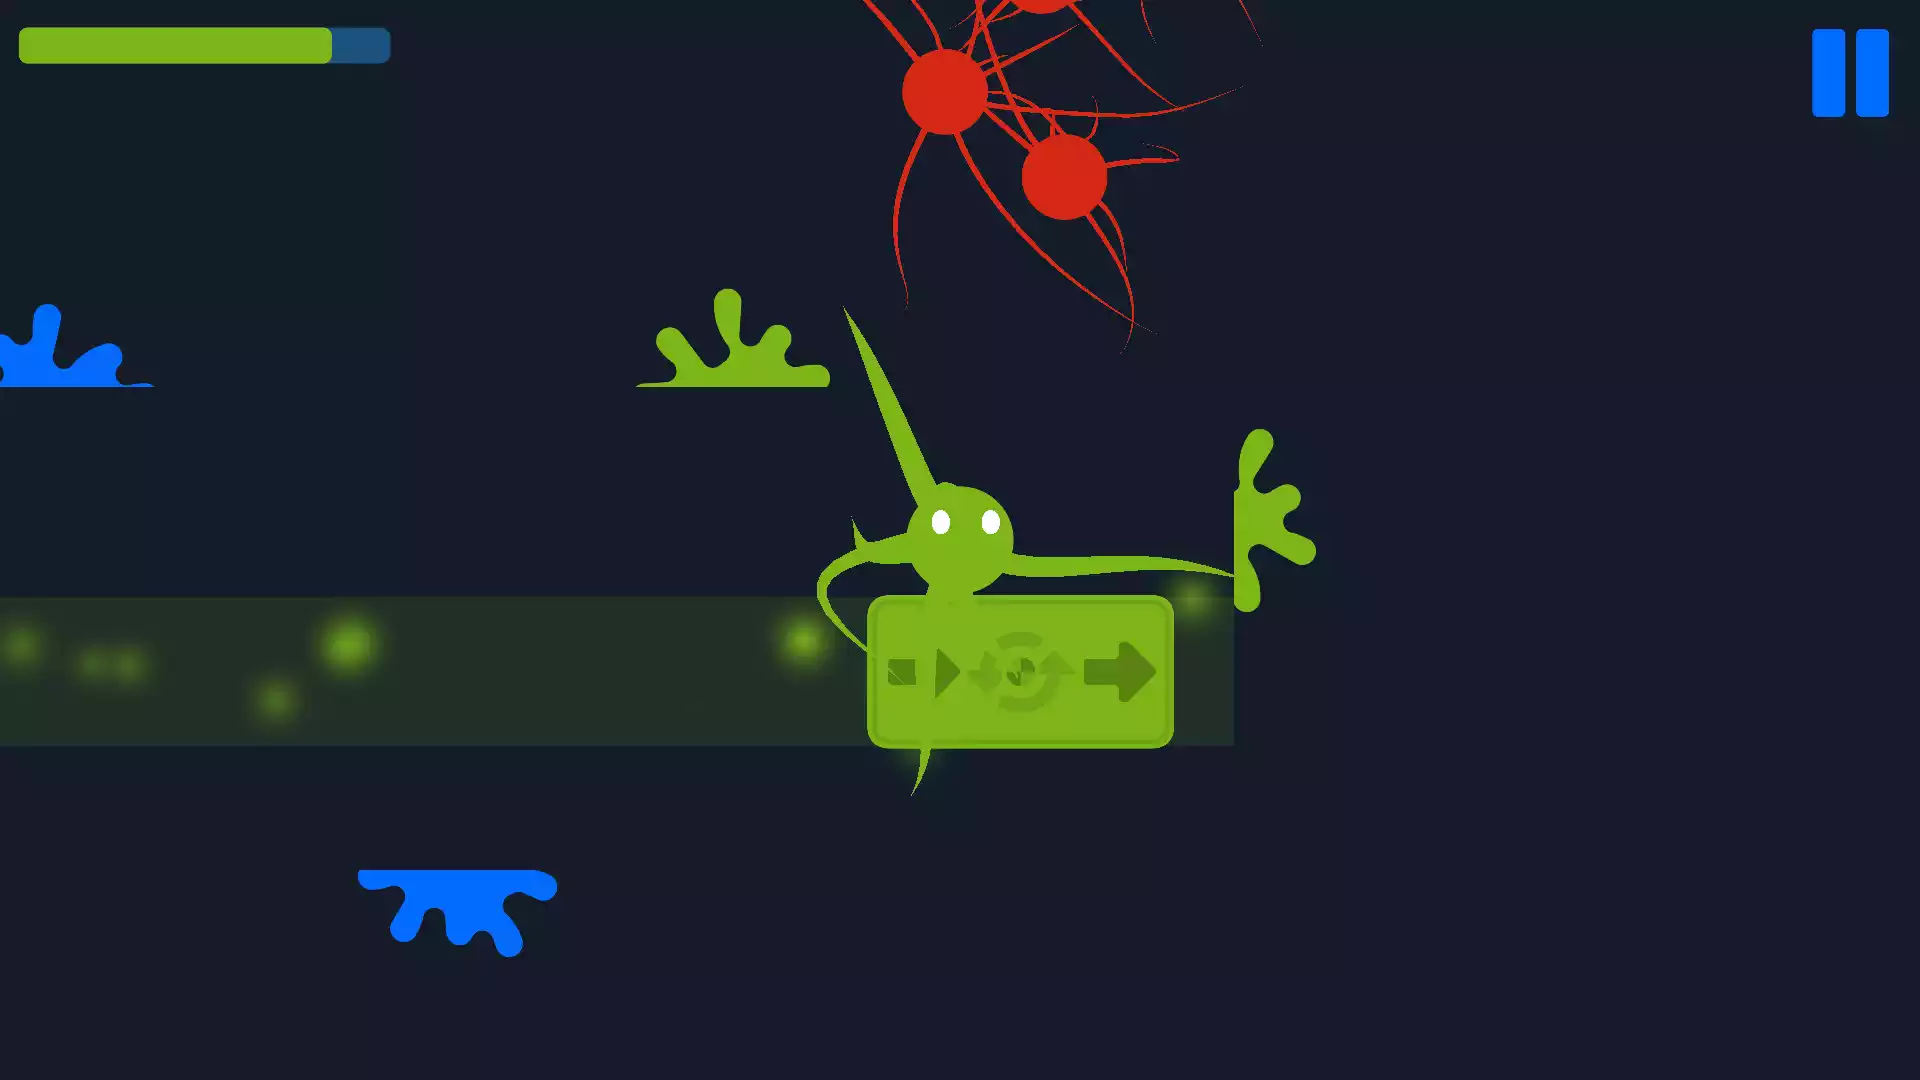
You’ll lose if you touch any red enemy or run out of ink.
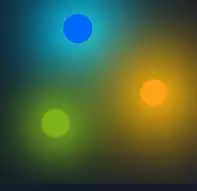
These GameObjects, called InkCollect, InkCollectGreen, and InkCollectYellow, will refill your ink supply and change your color accordingly.
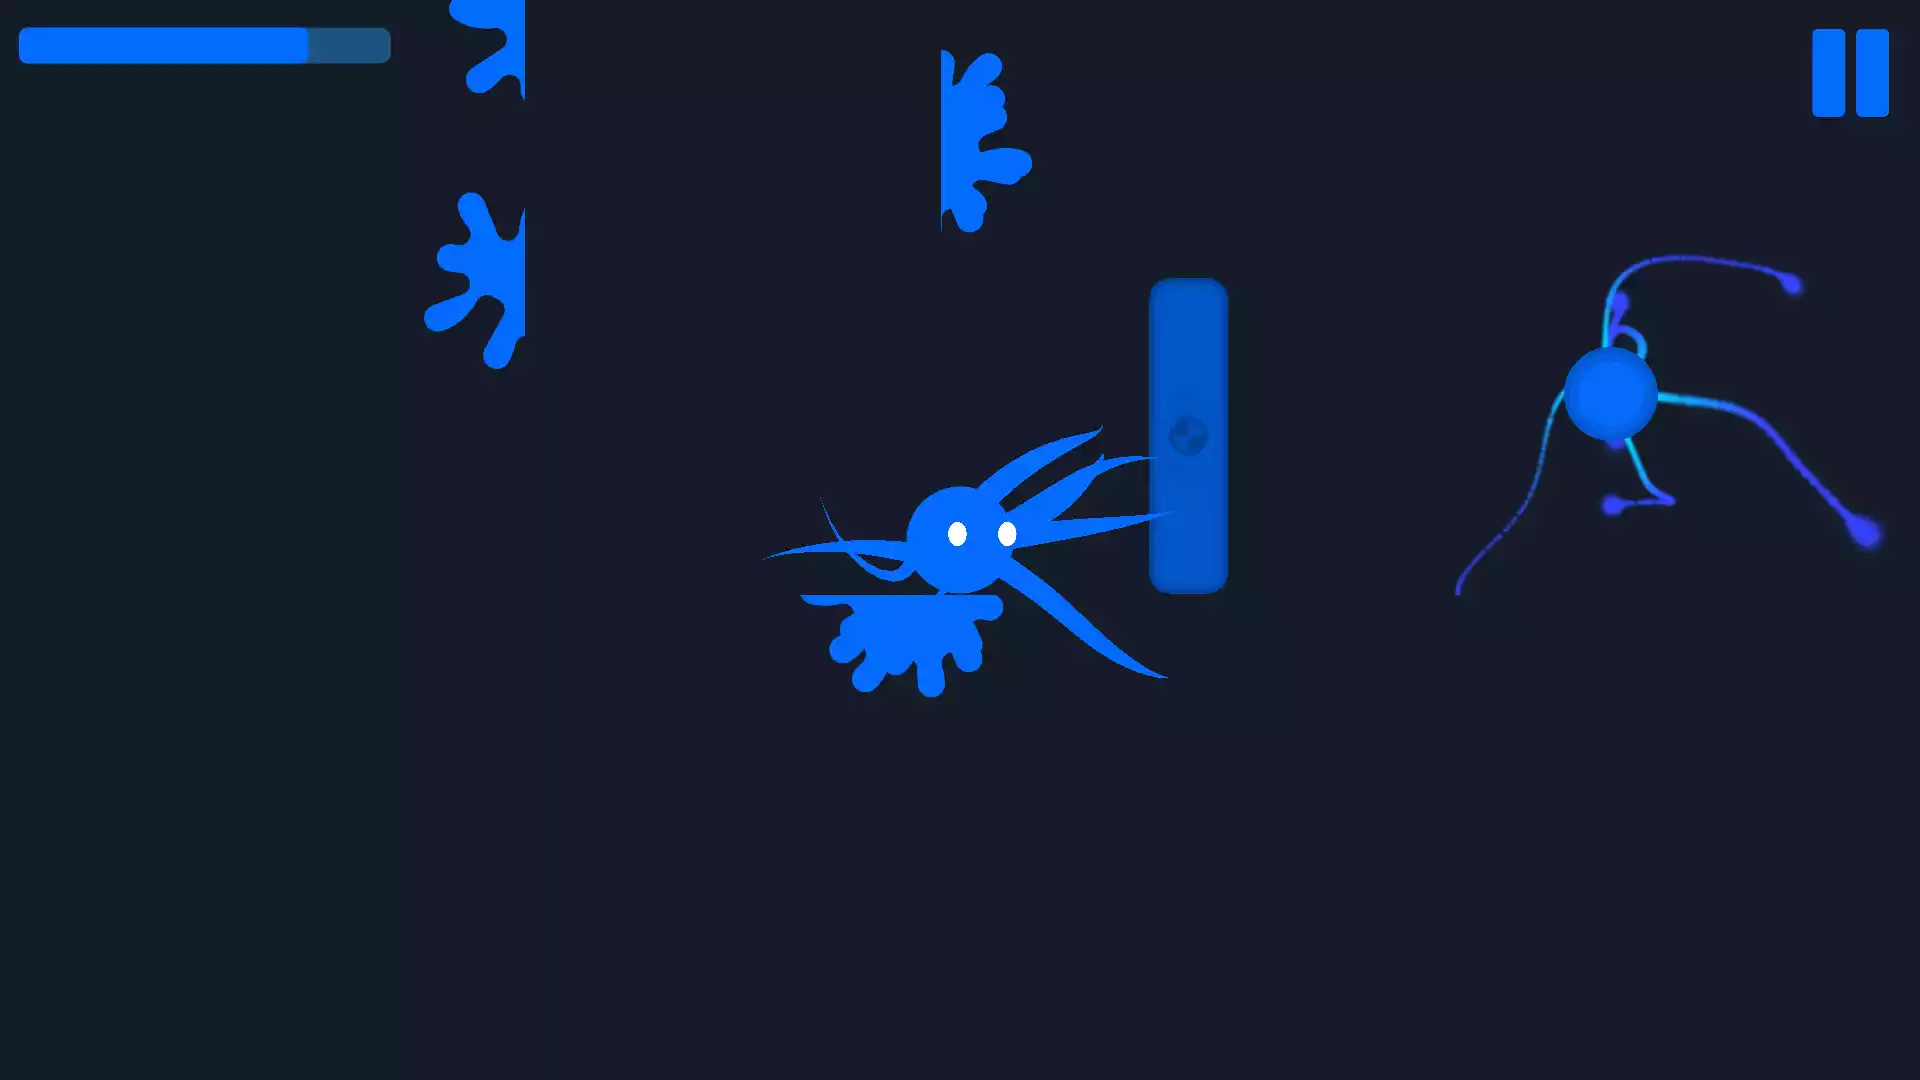
When you’re blue, you shoot blue ink balls that can rotate blue doors.
When you’re yellow, you can shoot at enemies to destroy them.
When you’re green, you shoot green ink balls that can rotate green platforms.
This game template uses CC0 copyright-free music. We recommend checking out this Free Game Menu Music Pack and using the track named 11. Poseidon’s Realm.wav, which was used in the game demo.
Game Name Ideas:
Inky Depths
Shadow Squid
Abyssal Ink
Dark Waters
Ink of the Abyss
Deep Sea Shadows
Inky Explorer
Abyssal Explorer
The Inky Abyss
Deep Ink
Shadow Ink
Ocean Darkness
Inky Depth Dwellers
Abyssal Navigator
Ink in the Dark
Depths of Ink
Dark Ocean Quest
Ink and Shadows
Abyssal Quest
Deep Sea Inker
If you have any questions or feedback, please feel free to contact us.